Posted on: Aug 7, 2018, | By Candy, WayKen Marketing Manager
The automobile industry is very competitive. About 30% of all the cars in the world are produced in China, 10% in Japan. In total, the world manufactures 72 millions of automobiles every year. Now, consider how many different designs are created annually. I’d say at least a few thousand. Each car has at least 2 lights and most of them have additional lamps on the rear windshield.
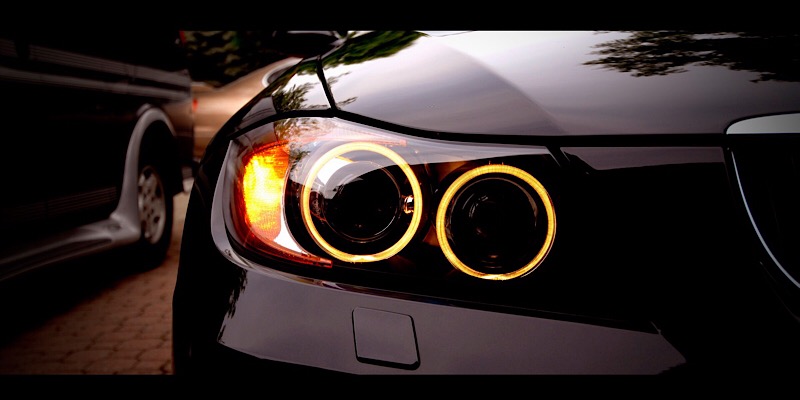
A lot of consumers value design a lot when they choose their car. Lamps play a large role in the image of the vehicle, so it’s a good decision to invest some time and money into designing top-notch car lamps.
This article will tell you about the main steps you’ll need to undertake in order to design and manufacture a light guide for automotive headlights.

What are light guides?
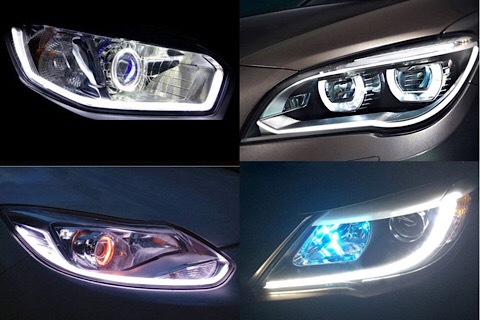
Light guides are special tubes made of PMMA(also known as acrylic glass) or polycarbonate. Their main advantage is lighting. The optics of the guide are such that when you put a light source to one end of the tube, the whole thing transmits along the whole length of the tube. The ray basically reflects from the surface of the guide and zigzags in the direction of its axis. The bigger the entrance angle, the brighter the shaft. It means you can get a light shaft of a very complex form that looks great in car lamps. Well, here is an example in the picture.
Design and Requirements
Designing the light guide narrows down to creating the tube trajectory and choosing its outer and inner diameters. Most light guide designs are created with the purpose of highlighting the lamp contours. That can be done by forming the tube into the required form and placing LED diodes either at one end of the pipe at an angle of 30-45 degrees or by placing a lot of smaller diodes underneath the whole length of the pipe
There are some requirements for light tubes as they have to transmit light with at least 50% efficiency. In order to do that. the light guide has to be a completely clear part with no bubbles or irregularities in its structure to prevent light distortions. In order to reflect and transmit enough light, the pipe surface must be extremely smooth. Pipe surface finishes are often as much as Ra 0,32 microns!
Casting
PMMA is a great material for casting and injection molding. However, if injection molding is perfect for mass production, its tooling is too expensive for smaller batches. That is why urethane casting is the most widespread PMMA prototyping method. The press-form is cheaper as it is made of silicone instead of steel for injection molding. One unit is enough to cast 12-20 parts.
The surface finish of the resulting part depends on the quality of the master model. The master model can be either machined or 3d-printed and post-processed to the required quality. Note, that if you are going to cast the parts yourself, you should consider ordering the master model from a prototyping machine shop. They will be able to make a better master model and you will get higher quality parts after casting and will have less to machine later.
Preliminary machining
Now, you’ve cast the part, however, most manufacturing methods that involve melting and solidifying of the material do not have high precision and its surface finish will not be as good as glass yet. This is why machining is often the next step for creating a precise light guide. In order to achieve a clear and precise part, you have to process it more than once. First comes the preliminary machining. It is used to machine mounting holes and secondary surfaces.

Finishing Operations
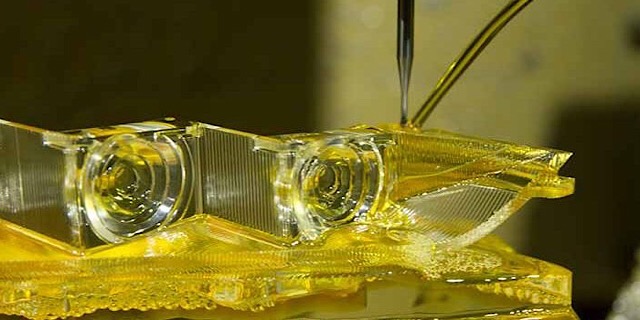
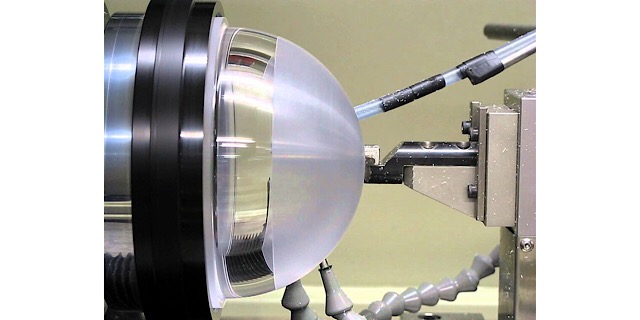
Finishing the guide is the hardest part. If you screw up anything at this stage, you’ll basically have to start over and remake the part from scratch. Usually, this stage requires precise 5-axis milling. After that, a very thin, pointed diamond tool is used to machine the PMMA to a glass-like structure. In order to achieve maximum surface uniformity, polishing is used. It usually varies from 400 to 600 grit of sandpaper, depending on the initial quality of the part and ends at about 1500-2000 grit with a special polishing paste.
The result is a transparent clear surface that has optical prototyping qualities of simple glass, however, its tensile strength is much higher, while its brittleness is lower. Such a guide can withstand substantial collisions.

Testing The Lights
In order to estimate the efficiency of the constructed light guide, tests are necessary. Photometry is the main process here. Now, Photometry allows us to estimate the lighting and the way it affects human perception. An installation for such measurements includes the prototype of the handlamp that is fixed on a specialized turntable, a screen with a window that is used to measure only a part of the light and a photometer right behind this window. Sometimes, a spectrometer is installed in order to estimate the “warmth” of the light.
The lamp is installed on the turntable and is switched on. The measuring devices start reading the results of the light. The turntable of the lamp is turned and the photometer is moved closer or further from the window screen. The resulting estimations can fully characterize the luminous flux of the light guide.
Note, that if your light guide provides less light than you would’ve wanted it to, you can avoid redesigning and remaking the pipe again. Just fix the light source in such a way that the angle between the face of the tube and the main direction of the light is smaller. The light will enter at a bigger angle and will reflect more often on the surface of the tube, so more rays will pass through the plastic as well.
Conclusions
Creating clear plastic prototypes is one of the hardest processes in the polymer industry. This is why it is important to check, double-check and triple-check the design and the manufacturing technology before you delve into the depths of plastic processing. Or, you could just make an order and save you a lot of trouble and money. Especially during the prototyping stage, where re-dos are always there.


