- May 11, 2021
Rapid prototyping is a rather mysterious field, only known to some design engineers or a few professionals- at least this is the case here in China.
As a project manager of rapid prototyping, I’m often asked “what is prototyping”? As it may be known to many, a prototype can be interpreted as the first product of a new design, or a customized sample of a new design.
Is machining cost always high?
Industrial designers often have prototypes made to see how the design turns out in reality: Does the design have flaws? How does this design fit with other parts? How does it look in reality? Are the material and dimensions correct? Because more often than not, a well-designed part has to be modified and tested many times before it can come out as a mature product in the market.
Thus it is a common understanding that a prototype has to be made before costing a lot of money on parts that come out with major flaws and defects. It is a matter of saving money. As a prototype manufacturer, we are also always looking for ways to save machining cost for our customers. So in this article, I’m going to talk about one of the many ways to save machining cost when making prototypes.
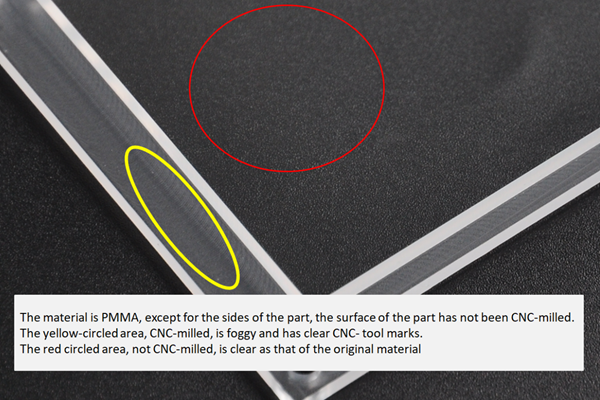
Photo 1.1: CNC-milled surface of PMMA VS not CNC-milled surface of PMMA
Tips to save the machining cost of CNC prototypes
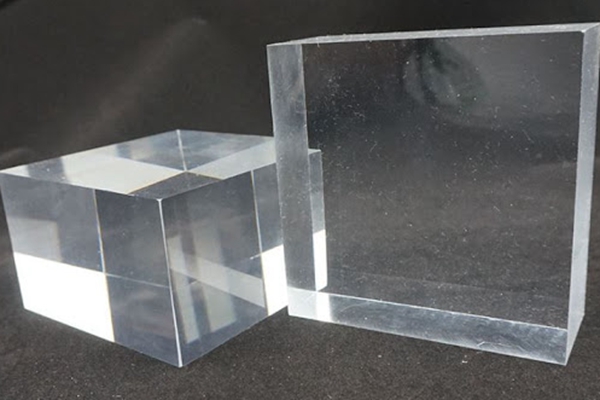
Photo 1.2: Original PMMA block material (photo is from the Internet)
Case Study: Way to Save the Machining Cost of CNC Clear Prototypes
This is especially the case with CNC machining clear prototypes.
When producing clear prototypes, the most common method we use is CNC machining. We have other methods that can produce clear parts, such as vacuum casting (or Urethane casting) and 3D printing, both of which have their pros and cons, but I’m not going into detail in this article.
To make clear prototypes, the material choice is limited to polycarbonate or Acrylics (PMMA), and the process is limited to CNC machining. Of course, injection molding can produce high-quality clear parts, however, no matter it is Aluminum mold or steel mold, the initial cost would be extremely high, sometimes, they could cost millions of dollars. Also, the turn-around time would be quite long. Therefore, it is unwise to make a few prototypes using injection molding.
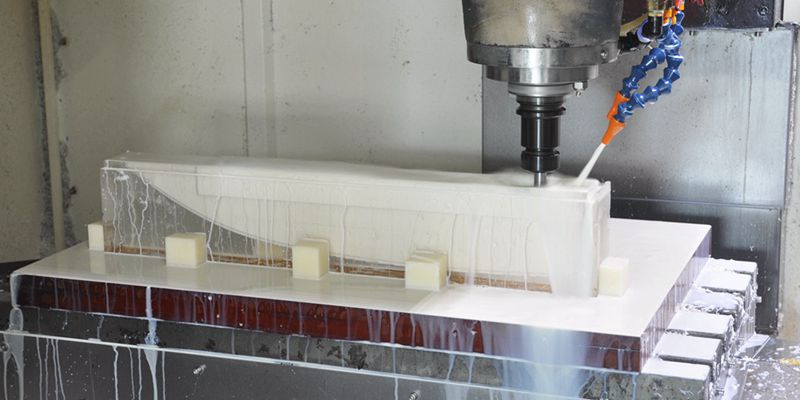
CNC machining is a subtractive machining process, during which we take a block of original material and chip away unwanted material till we get the desired part.
The original block material of PC and PMMA material are standard materials that have a certain wall thickness or height and these original clear materials are clear themselves (see Photo1.2). After the surface of these clear plastic has been machined, the whole part would look quite foggy and coarse (see photo 1.1), to make it clear, manual sanding and polishing will have to be applied.
It is a universal truth that when manual labor is used in the machining process, the machining cost of the part would arise rather high. Even in China, where manual labor is not as expensive as that of the EU and US. Yet the cost of manual polishing is understandably high, for it is quite a time-consuming labor-intensive job.
For example, if a machined PMMA part is to be polished clear (surface roughness Ra0.05-1μm), our workers will sand it using coarse sandpaper 320# first, then gradually change to 1000# sandpaper to polish the piece.
If a machined PMMA part needs to be polished optically clear (surface roughness Ra 0.025-0.05μm, see photo 1.3), our workers will sand it using coarse sandpaper 320# first, then gradually change to 2000# sandpaper to finishing sanding process, then we will use the polishing paste to polish the part to optically clear (maximum transparency), which is a long and labor-intensive process, it usually takes a skilled worker several days to finish one piece.
Even if the original PMMA material has some scratches or imperfections, it would be so much easier to polish it rather than polish the machined surface.
Therefore, when we evaluate each design, we always take into consideration of the thickness or (height). When running into designs that are close to standard original material, we would recommend not machining the surface to save machining cost (sometimes a substantial amount), if the thickness (height) of the part doesn’t have strict tolerance or the thickness doesn’t matter that much.
This is also true with machining metal. Using standard thick material will save machining cost and machining time. Yet, it usually couldn’t save as much cost as that of the clear plastics. Because we usually sand metals only a little bit or send as machined metals to customers as required.
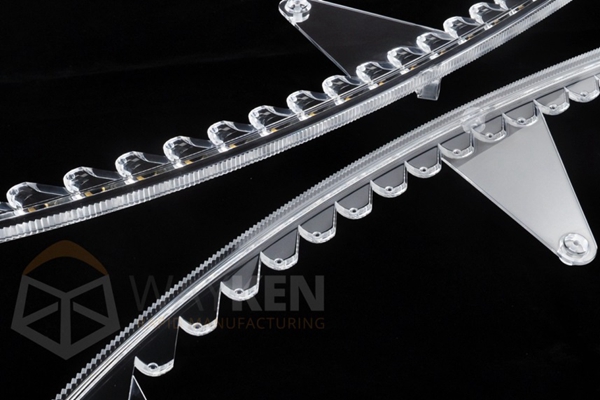
Photo 1.3: CNC-machined, and optically-polished (the “teeth” area not polished) PMMA part
Summary
In a word, if you need to have clear prototypes made, and there is standard material that is close to your part in height or thickness, choosing not to machine the surfaces might a very good method to save machining cost.